
15 min read · Updated 8 June 2025 · intermediate
Planting sequence: years 1 to 3
A staged establishment timeline for food forests: shelter, soil, structure, support plants, groundcover and early pruning.
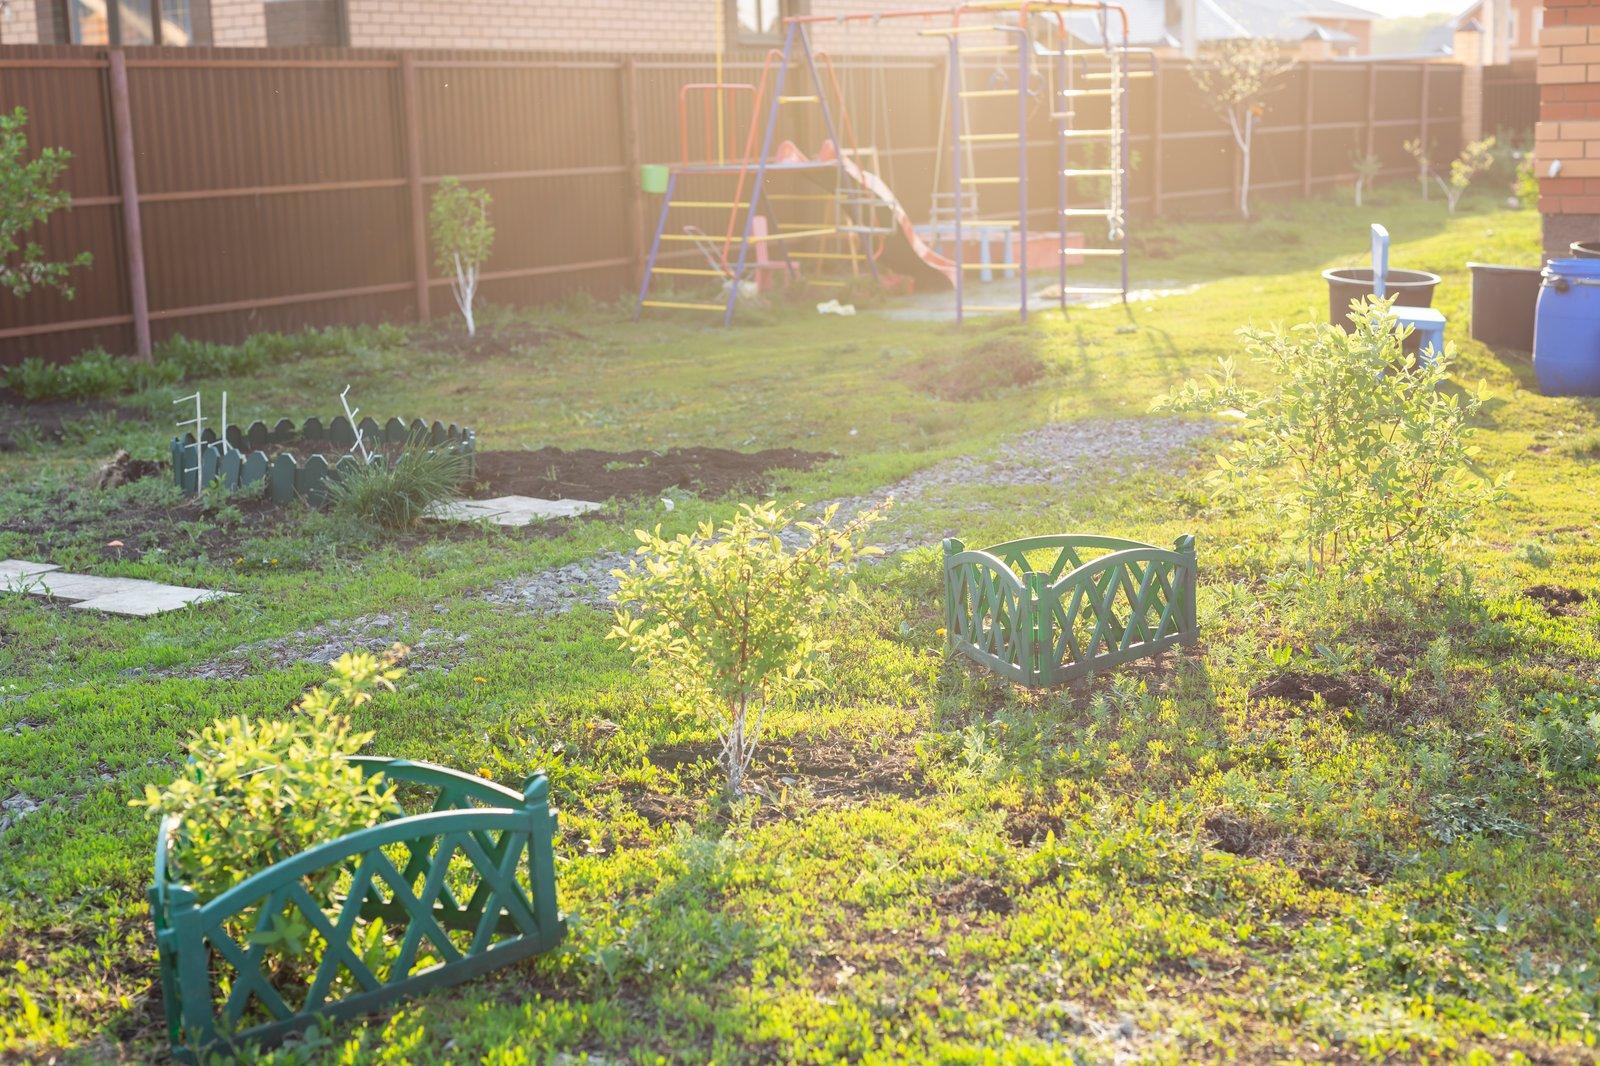
Establishment is a sequence, not a weekend
A food forest becomes easier when the first three years are staged. Year one is not the time to plant every layer at full density. It is the time to set up shelter, water, mulch, access and structural plants. Year two fills support roles. Year three begins correction: pruning, thinning, replacing and deciding what not to expand.
This sequence is conservative because conservative establishment saves money and plants.
Before year one: observe and prepare
Use how to assess your site before planting. Mark sun, wind, frost, wet and dry zones, paths, services and existing useful plants. Decide the first zone. Source clean mulch. Confirm water access. If a neighbour conversation is needed, have it before boundary plants go in.
For exposed sites, begin shelter first. The windbreak shelter edge pattern may need a season's head start before tender fruit.
Year one: structure and survival
Plant the structural spine: key fruiting shrubs, low trees, shelter plants and any proven canopy. In many home gardens that might mean feijoa on a boundary, lemon in a warm pocket, or a small mixed fruit guild. In warm sheltered sites, avocado may be planted only after drainage and wind are solved.
Mulch broadly. Keep collars clear. Water deeply through dry spells. Install paths before understorey becomes dense. Protect young trees from wind, rabbits, pets, mowers and accidental foot traffic.
Do not overfill understorey immediately. Young trees need root establishment, light and easy inspection.
Year one support plants
Once structure is planted and mulched, add simple support plants where they are easy to manage. Comfrey can go at drip lines or path edges. Nasturtium can cover open soil once seedlings and trunks are safe. In warm areas, pigeon pea can nurse subtropical plantings. In suitable temperate places, tagasaste can provide nurse shelter.
Temporary plants need labels or notes. Write "remove", "chop", or "reduce year three" where appropriate.
Year two: fill gaps, not every space
By year two, you can see survival patterns. Which plants handled winter? Which spots stayed dry? Where did wind still hit? Which mulch disappeared fastest? Use that information before buying more.
Fill genuine gaps with groundcovers, herbs, fertility plants and small shrubs. Expand mulch. Replace failures only if you understand why they failed. If a banana failed from frost, planting another banana in the same hollow is not learning.
Year two is also when living mulch becomes more useful. Groundcovers can reduce bare soil, but keep them managed around young trunks.
Year two pruning and training
Begin formative pruning early. Remove crossing, broken or badly placed growth. Shape feijoa hedges lightly. Keep citrus open and accessible. Guide climbers onto supports rather than letting them choose young trees.
Read pruning for light before the canopy closes. Pruning is not just correction; it is design.
Year three: edit the system
Year three is the honesty year. Temporary nurse plants may need reduction. Pigeon pea may be chopped hard or stopped. Tagasaste may need side-pruning or staged removal. Some understorey may be too dense. Paths may need widening. A canopy may need lifting or thinning.
This is also when you decide whether to expand. If the first zone is still weedy, thirsty, crowded or hard to access, do not start a second zone. Fix the first.
Staging by climate
Warm Bay of Plenty or Northland sites may establish biomass quickly, which means more chopping and thinning. Cool climates may establish slowly, with more frost protection and fewer subtropical support plants. Dry regions may need irrigation planned before planting. Wet heavy soils may need drainage and mounds before tree planting.
Adjust timing to the site. The sequence is about order, not exact calendar dates.
A simple three-year checklist
Year one: site map, paths, shelter, structural plants, mulch, water, protection.
Year two: replace understood failures, add support layers, thicken groundcover, begin pruning, continue mulch.
Year three: reduce nurses, prune for light, confirm access, decide expansion, document lessons.
Pause before scaling
At the end of year three, hold a deliberate review. Which species earned their space? Which ones survived only because you constantly rescued them? Which paths are too narrow? Which chores did nobody enjoy? These answers should shape the next stage more than the original plan.
If the system is healthy, expand by repeating the strongest pattern. If it is still difficult, simplify. Remove or reduce the plant that creates the most maintenance for the least return. Good establishment includes editing.
Document the review in plain language. Future planting decisions should be able to answer "we changed this because winter water sat here" or "we expanded this guild because it needed the least rescue". Evidence protects the garden from repeating early assumptions and guesses.
Use the free Kai Resilience grower tools to compare year-one and year-five spacing. A food forest is planted in time as much as space.
References
- Staged establishment practice — Timing varies by climate and labour; this guide gives a conservative sequence.