
16 min read · Updated 16 March 2025 · beginner
How to assess your site
A practical NZ site-reading process for sun, wind, frost, water, slope, soil, access and existing plants before you buy trees.
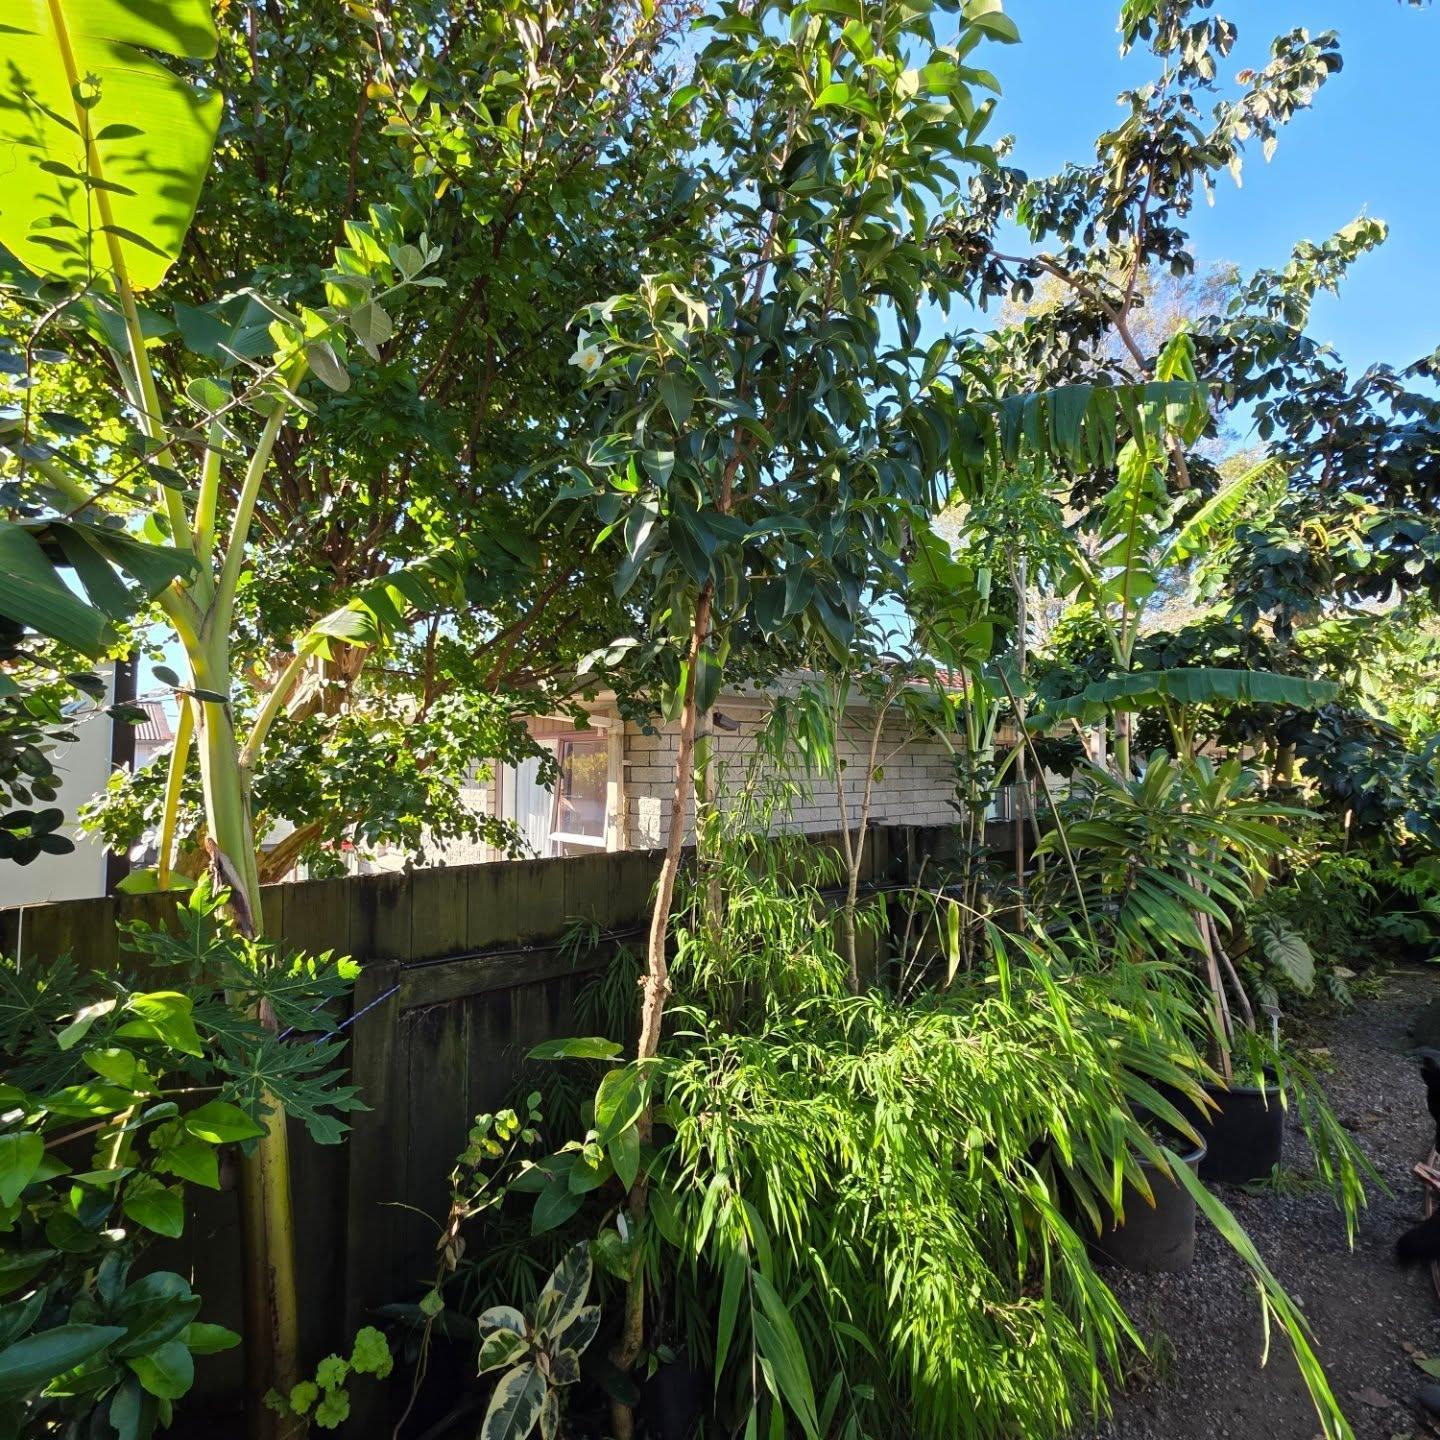
Site assessment saves plants, money and energy
A food forest design begins before the plant list. The site already contains the design brief: where sun reaches in winter, where cold air settles, where wind arrives, where water sits, where people walk, and where existing plants are already telling you what works.
In Aotearoa, regional labels are useful but blunt. "Bay of Plenty" can mean a warm drained slope or a frosty wet hollow. "Canterbury" can mean a sheltered urban courtyard or an exposed dry paddock. The exact site is the unit of design.
Draw the base map
Start with a simple sketch. Mark boundaries, buildings, fences, slopes, drains, taps, paths, gates, clotheslines, play zones, compost, sheds, underground services and any trees you may keep. Rough is fine. The goal is to stop treating the garden as a blank page.
Then mark the planting envelope: the places you are actually willing to convert in the next one to three years. Many failed food forests began as whole-section conversions with no labour plan. A smaller completed small suburban food forest is more useful than a half-finished jungle of cardboard, weeds and guilt.
Track sun and shade
Food forests need light. Summer sun can hide winter shade problems, especially south of buildings and fences in New Zealand. Watch the site in winter as well as summer. Mark full sun, half-day sun, afternoon scorch, permanent shade and reflected heat from walls.
Put demanding fruiting plants in the best light. Use lower layers and shade-tolerant support plants where light is reduced. Do not plant three future canopies where only one will have enough light in year five. Link this step to understanding the seven layers and pruning for light.
Read wind honestly
Stand outside in rough weather. Where does the damaging wind come from? Is it a steady prevailing wind, a storm direction, salt-laden coastal wind, or a cold southerly? Young food forests often fail because tender trees are planted before shelter exists.
If wind is a serious feature, design the shelter first. Tagasaste and feijoa can help in suitable places, but filtered shelter design matters more than a single species. Read wind and shelter for food forests and use the windbreak shelter edge pattern.
Map frost and cold air
Frost is local. Cold air drains downhill and pools in low spots. A fence, hedge, pond, wall or slope can change winter temperatures. Mark where frost appears first and melts last. Ask neighbours what survives. Do not use one mild winter as proof that your site can grow avocado or banana.
Tender plants belong in warm pockets only after you have observed the site. In frost-prone gardens, use the frost-prone productive garden and cool-climate food forests guides.
Follow water
Walk the site during and after rain. Where does water run, soak, pond or vanish? Is there a dry rain shadow under eaves? Is the fence strip dusty in summer? Is a lower corner wet all winter?
Plant water-sensitive species such as avocado on free-draining positions. Put moisture-loving plants such as taro only where climate and moisture suit. Do not make one wetness level serve every plant. The water and drainage guide is essential before digging basins, swales or banana circles.
Dig holes, not assumptions
Soil maps and names are useful, but a spade tells the truth. Dig several holes. Look for compaction, clay pans, rubble, smell, worm activity, topsoil depth, wetness and how fast water drains. Urban sites often contain builder's fill, old paths, buried plastic and compacted lawns.
If soil is poor, start by covering it. Compost, clean mulch, living roots and staged conversion are better than heroic deep digging across the whole section. Use building fertility without synthetic fertiliser and mulch and paths to plan establishment.
Existing plants are evidence
What already thrives on site and next door? Healthy old citrus, feijoa hedges, thriving shelter trees and self-sown herbs are data. So are repeated failures. If every exposed lemon nearby looks miserable, yours will not become healthy because a guild diagram includes comfrey.
Keep useful plants where possible. An existing garden can become a food forest in stages; see starting with an existing garden and existing orchard conversion.
People are part of the site
Paths, bins, pets, children, elderly relatives, harvest access, neighbour boundaries and community rosters all shape the design. A plant in the wrong access route becomes a problem no matter how edible it is. Public or shared spaces should read school and marae community edge before planting fragile showpieces.
Turn observations into a first plan
After mapping, choose one priority zone. Match plant roles to the conditions: shelter on windward edges, tough fruiting shrubs on boundaries, tender plants only in proven warm pockets, wet-niche plants only where water supports them, and support plants where they can be cut and managed.
Use the free Kai Resilience grower tools to turn your sketch into spacing and canopy decisions. A good assessment does not remove uncertainty, but it makes experiments smaller, cheaper and easier to learn from.
References
- Observation-first site analysis — Local observation beats regional averages for frost, wind and drainage.