
14 min read · Updated 28 September 2025 · beginner
Kai Resilience Without Hype
Using food forests as one strand of local kai resilience alongside households, schools, community gardens, seed saving, preserving, and sharing networks for Aotearoa food-forest growers, with practical steps, cautions, and climate-honest design notes.
Why this matters
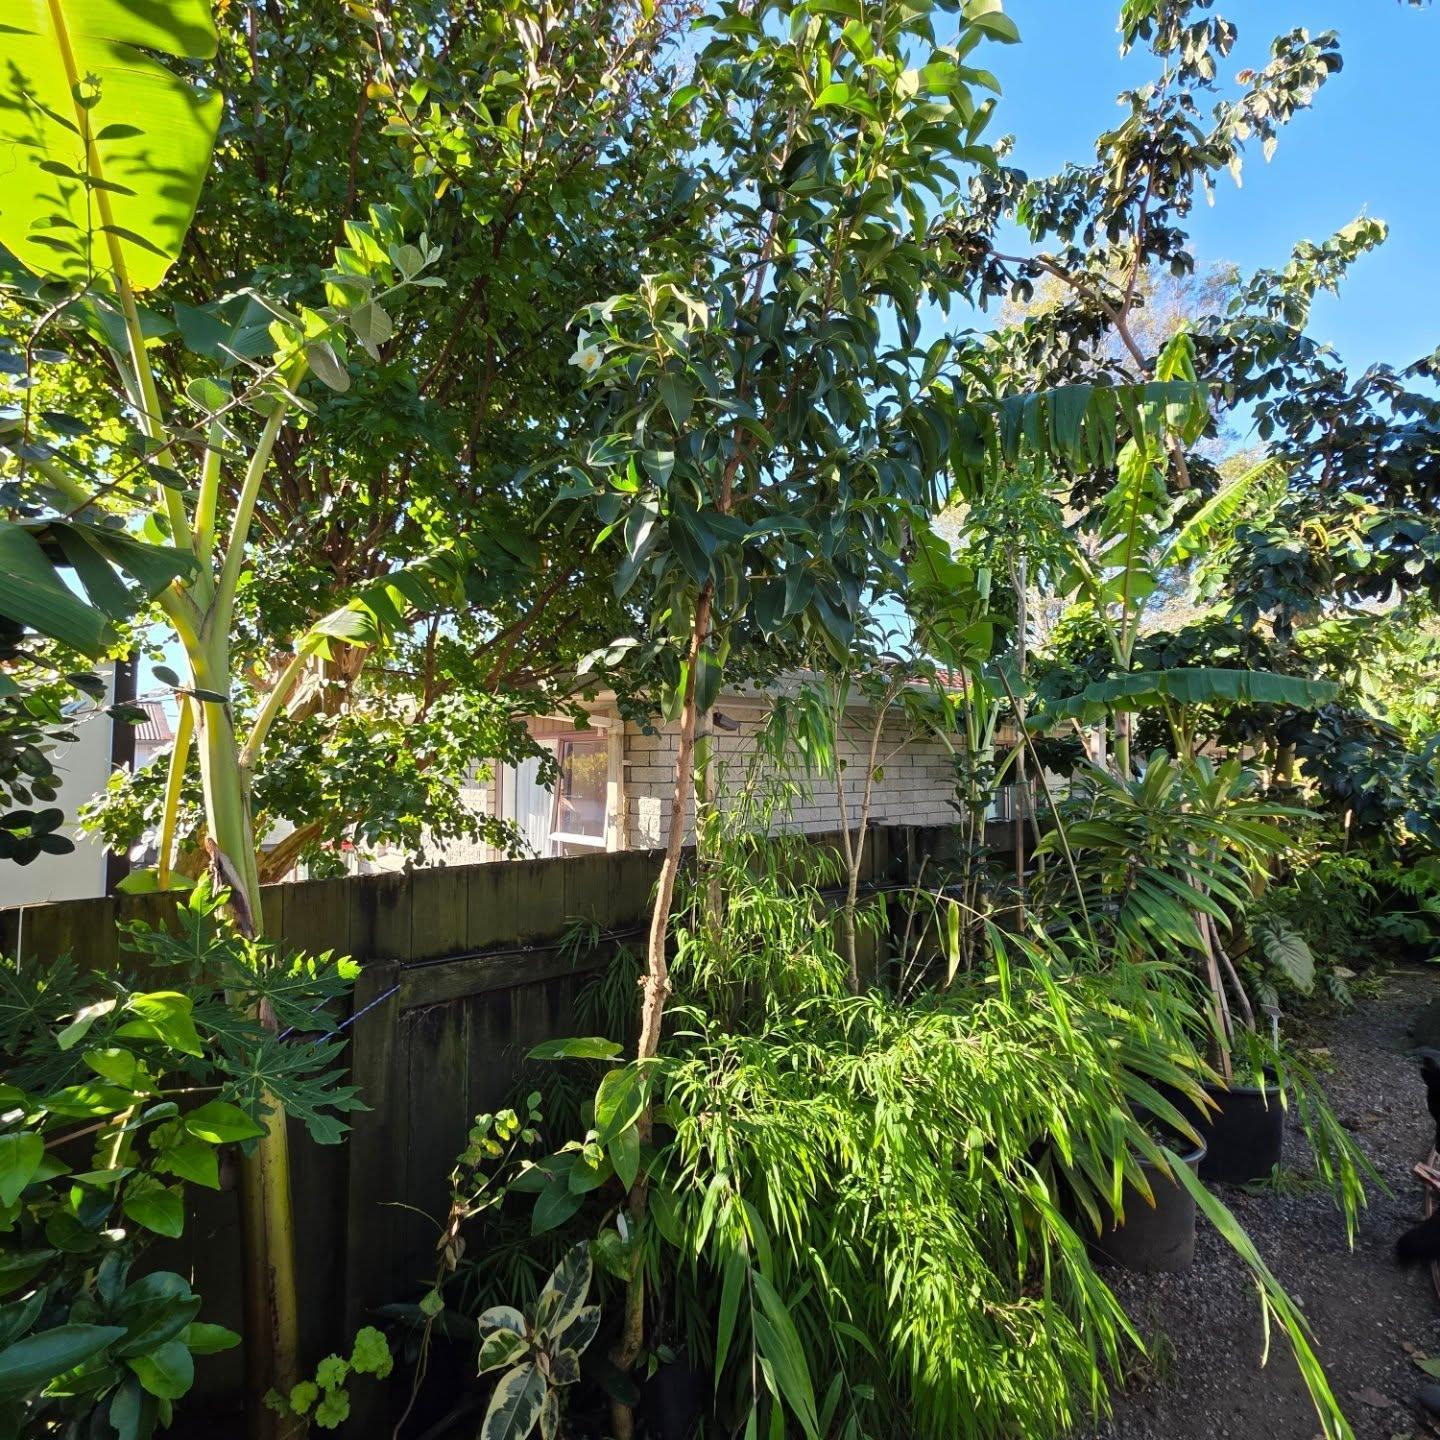
Kai Resilience Without Hype is a practical food-forest question, not a decoration for a design plan. It shapes what survives, what is pleasant to maintain, and whether the planting still makes sense after the first burst of enthusiasm. In a New Zealand food forest, using food forests as one strand of local kai resilience alongside households, schools, community gardens, seed saving, preserving, and sharing networks. That means the work begins with the exact site, the people using it, and the climate pattern that turns up in a difficult year. A useful starting point is to connect this topic back to what a food forest is and to the basic site-reading habits in how to assess your site. The layered idea is valuable, but it only becomes useful when it is translated into paths, water, shelter, plant spacing, harvest access, and maintenance routines. Across Aotearoa the answer changes by region: Northland humidity, Bay of Plenty shelter, Waikato frost, Wellington wind, Canterbury dry summers, and Otago short seasons all ask for different design choices. This guide is written for households, schools, community gardens, marae-edge projects, lifestyle blocks, and small urban sections. The scale changes, but the principle is the same: make the next decision small enough to test and clear enough for another person to understand.
Read the site before choosing plants
Begin with observation rather than shopping. Walk the area in early morning, midday, late afternoon, rain, wind, and dry weather. Mark where the ground stays damp, where mulch disappears, where children or visitors naturally walk, where hoses reach, and where a wheelbarrow turns easily. If the guide topic is about design, water, fertility, harvest, or troubleshooting, the same rule still applies: the site tells you what it can support. For this topic, the most useful observations are practical ones: define who the planting serves, plan staple and treat crops separately, build surplus pathways, and link to the wider grower- tools hub when mapping decisions. Write them down in plain language. A rough notebook with dates is better than a beautiful plan that nobody updates. Photos from the same corner each month will show shade, growth, and failures more honestly than memory. Link the observations to real plants. A sheltered, sunny edge might suit feijoa, citrus, or a feijoa boundary guild. A damp, warm niche might suit taro or a taro moist niche guild. A cold or exposed site may do better with apple, plum, tagasaste, shelter, and patience before tender experiments.
Turn the idea into a layout
A good layout makes maintenance obvious. Keep main paths open, leave space around trunks for inspection, and make harvest plants reachable without stepping into wet soil or climbing through undergrowth. If the planting is small, a small suburban food forest or narrow boundary planting pattern will usually be more useful than a grand forest diagram. If the site already has trees, compare the plan with existing orchard conversion before adding more woody plants. For kai resilience without hype, draw three layers of information on the map. First, mark fixed constraints: buildings, services, boundaries, slopes, drains, access, existing trees, and neighbour-sensitive edges. Second, mark living conditions: sun, wind, frost, wet soil, hot reflected heat, dry eaves, and animal pressure. Third, mark human routines: daily harvest routes, compost access, water points, play areas, school supervision, shared entrances, and places where a tidy public edge matters. Now choose plants for jobs, not just names. Comfrey can provide biomass and bee forage where it can be cut regularly. Blueberry wants acidic, moist, well-managed soil rather than a random gap. Passionfruit needs a strong structure and frost protection in many districts. Banana can be biomass and fruit in warm pockets, but it is not a universal NZ food-forest plant. Tagasaste and pigeon pea can be nurse or shelter plants where climate and management suit them.
A practical sequence
Start with the least reversible decisions. Confirm access, water movement, legal constraints, and shelter before planting expensive trees. If the site is shared, confirm who can approve changes, who waters in summer, who prunes in winter, and who decides when something is removed. Food forests fail when social arrangements are vaguer than the planting plan. A simple sequence works well. In the first pass, clear only what must be cleared and protect the soil with mulch or living cover. In the second pass, plant structural species at honest spacing. In the third pass, add support plants, herbs, groundcovers, and climbers where the structure is already working. In the fourth pass, review what grew too fast, what needed more water, what attracted pests, and what nobody harvested. For digital planning, use the free grower tools hub at Kai Resilience. Tools can help compare spacing, companion relationships, and harvest timing, especially when you are considering guilds such as the tagasaste-nurse-guild, subtropical-avocado- guild, or patterns such as existing-orchard- conversion. Use the tool output as a conversation with the site, not a command to obey. Keep the first stage modest enough that it can be watered through a dry summer. A well-kept 20 square metre edge teaches more than a neglected 500 square metre dream. If you are working with volunteers, a school, or a public verge, design jobs that can be completed in one session and understood without the original designer present.
Cautions and climate honesty
The main caution for this topic is simple: Do not promise self-sufficiency from a small section; resilience comes from people, skills, storage, and relationships as much as trees. That caution matters because food forests are long-lived. A poor annual crop can be changed next season; a poorly placed tree can shade a neighbour, block a path, break a pipe, or demand removal after years of growth. Be especially careful with medical claims, biosecurity, and imported advice. This site discusses food, ecology, and garden practice. It does not make medical claims for plants. Check local rules before earthworks, greywater use, public planting, seed import, or work near waterways. In kiwifruit districts, respect orchard biosecurity. In coastal districts, account for salt. In humid districts, design for airflow. In frost hollows, choose hardiness over wishful thinking. New Zealand climate honesty also means admitting that some fashionable species are experiments. Avocado, macadamia, guava, kiwi, grape, kumara, oca, yacon, and strawberry can all be excellent in the right place, but none of them remove the need to match soil, water, sun, and labour.
Maintenance rhythm
Set a rhythm before the planting gets complex. In spring, check new growth, labels, pest pressure, irrigation, and mulch gaps. In summer, prioritise deep watering, shade for young plants, safe netting, and harvest. In autumn, plant where soil is still warm, make leaf mould, and note what struggled. In winter, prune structure, repair paths, clean tools, and review the plan. For kai resilience without hype, review the design after the first hard season. Ask what was easy to maintain, what was ignored, what was hard to harvest, and what created conflict. If a plant is in the wrong place, move it while it is small or remove it before it becomes a bigger problem. If a path fails, fix the path before adding more plants. If a tree is not fruiting, diagnose light, age, pollination, frost, pruning, water, and variety before feeding it blindly. Useful companion reading includes understanding the seven layers, water and drainage, mulch and paths, pruning for light, and pests: observation, not panic. The goal is not a perfect food forest. The goal is a living system that keeps feeding people, soil, insects, birds, and learning without exhausting its caretakers.
Quick field checklist
- What is the main purpose of this area: daily food, shelter, teaching, beauty, surplus, or soil repair?
- Who will water, prune, harvest, and decide on removals?
- Where are the fixed constraints: services, easements, drains, fences, buildings, and public edges?
- What does the site do in winter shade, summer heat, heavy rain, drought, frost, and wind?
- Which plants are structural, which are temporary, and which are experiments?
- Can a child, elder, volunteer, or future tenant understand the layout without a long explanation?
- Is there a clear link from observation to design, from design to maintenance, and from maintenance to harvest? If those answers are visible, kai resilience without hype becomes a useful part of the food- forest plan rather than another layer of complexity. Keep notes, make small improvements, and let the site teach the next stage.
References
- Kai Resilience grower tools — Free planning tools for mapping, plant relationships, and harvest thinking.
- New Zealand food-forest field observation — Practical guidance framed for Aotearoa climates, soils, and community contexts.
- Food Forests NZ knowledge base — Related plants, guilds, design patterns, and troubleshooting guides on this site.