
Low-tree layer · Unusual pome fruit tree
Medlar
Mespilus germanica
Medlar offers unusual pome fruit tree value for NZ food forests when matched honestly to climate, soil, and maintenance.
Also known as: Medlar
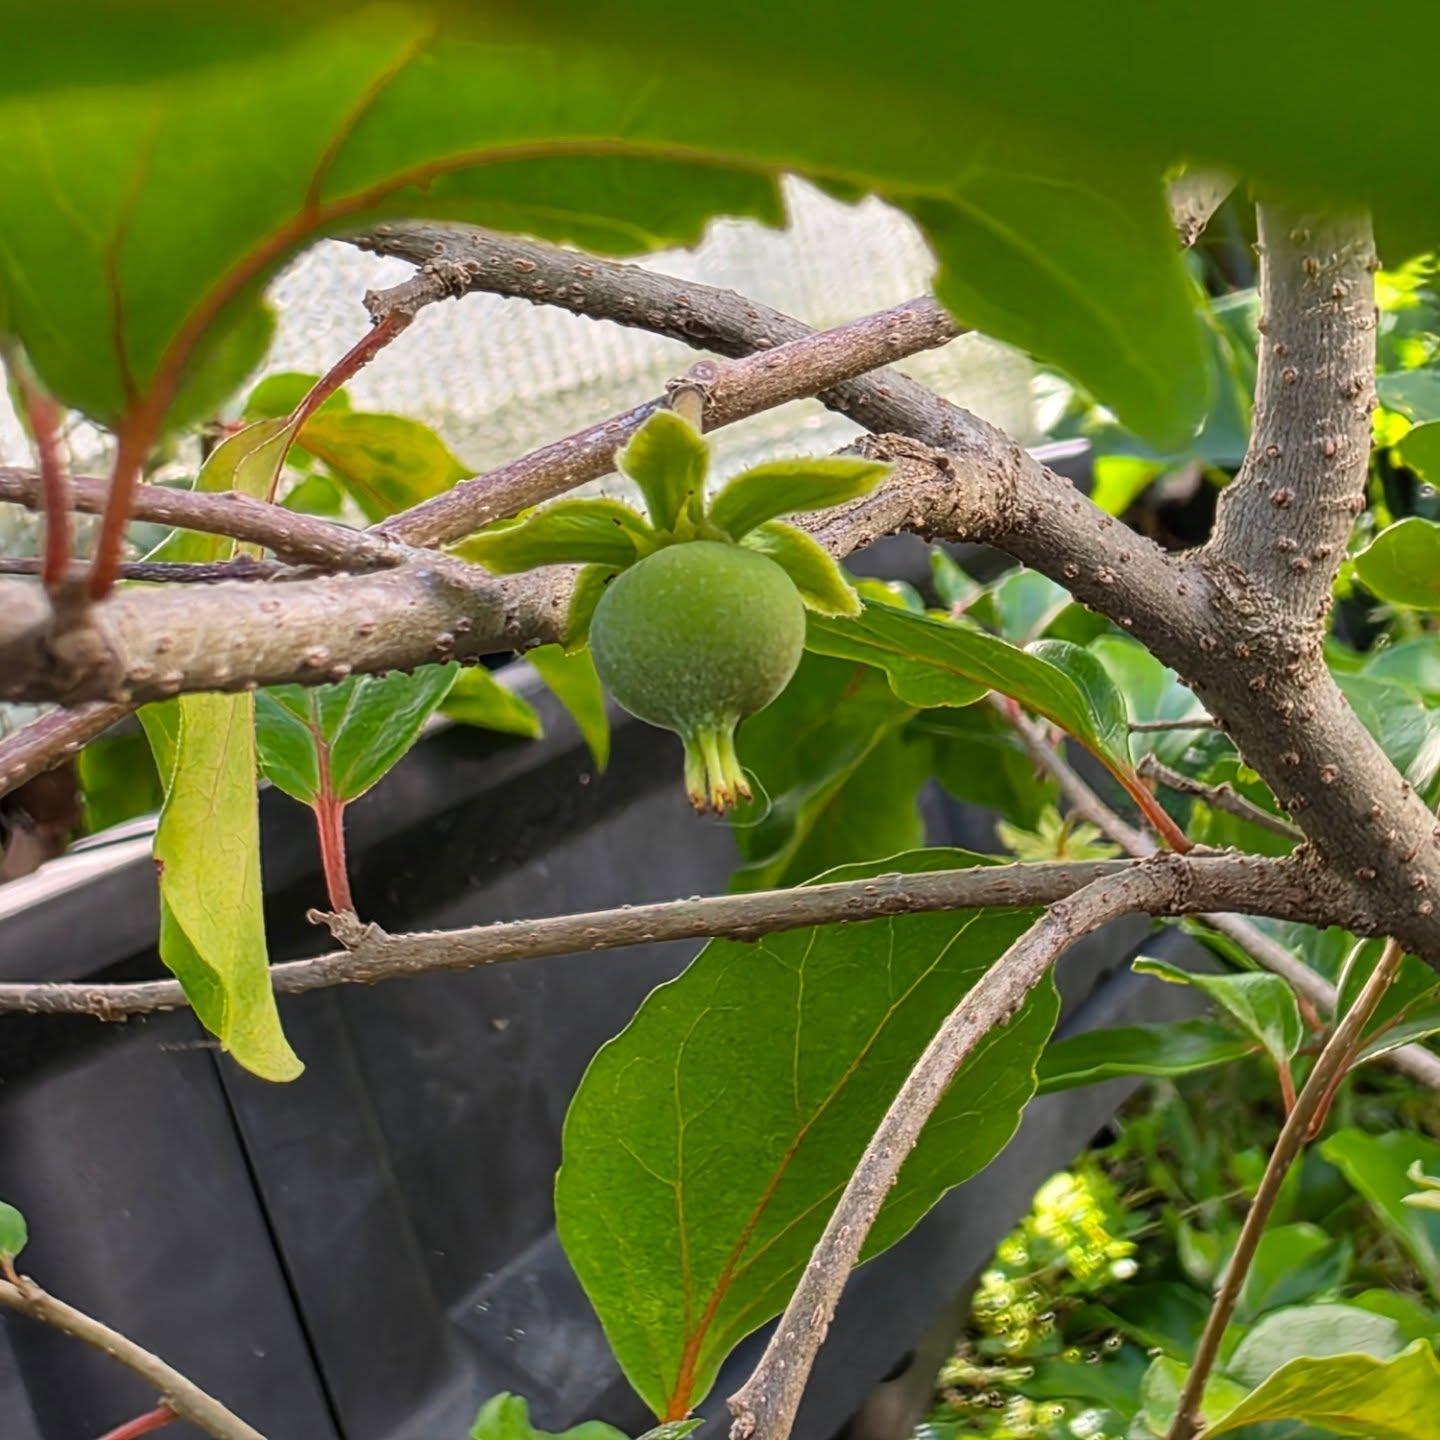
Layer
Low-tree layer
Climate
Temperate, Cool temperate
Sun
Full sun to light shelter, especially in windy coastal gardens.
Water
Even moisture while establishing; mulch well and avoid prolonged waterlogging unless this crop is deliberately grown in a moist niche.
Soil
Deep, biologically active, free-draining soil with organic matter and a living mulch; adapt pH and drainage to the species.
Size
2-6 m managed H · 2-5 m W
Growth
Moderate
Frost
Generally tolerant of light frost once established unless grown as a subtropical species.
Edible uses
Fruit
Harvest window
Varies by cultivar and region; mainly summer to winter in NZ conditions
Ecological functions
Fruit production · Small-tree structure · Flower forage · Shelter edge
Wildlife value
Bee forage · Bird perches · Fallen fruit for soil organisms
Human uses
Fresh food · Preserves or kitchen use · Food forest diversity
Propagation
Plant named nursery stock where fruit quality matters; seedling types suit shelter or experimentation.
Maintenance
Prune for light and airflow, thin heavy crops where needed, mulch, and protect trunks from grass competition.
NZ growing notes
Match Medlar to local shelter, drainage, frost, and summer moisture before planting widely; nearby successful gardens are the best guide.
Food forest role
Medlar (Mespilus germanica) belongs in the low-tree layer as a unusual pome fruit tree that should be placed for long-term usefulness rather than novelty. In a New Zealand food forest it can contribute fruit production, small-tree structure, flower forage, shelter edge, while also giving the household fresh food, preserves or kitchen use, food forest diversity. The best plantings start with mature size, harvest access, wind exposure, and soil moisture in mind. A young food forest can make almost anything look easy for the first two seasons; the real test is whether the plant still fits after five wet winters, several dry summers, and regular harvesting. Treat Medlar as one member of a guild, not as a stand-alone specimen.
Establishment
Establish Medlar by preparing a broad planting zone instead of a tight hole. Remove grass competition, loosen compacted edges, add compost where it will not create a wet sump, and mulch wide enough to protect feeder roots. Water deeply through the first summer and reduce irrigation only when growth is steady. If the plant is grafted or cultivar-dependent, buy named material from a reliable nursery and keep labels. Where seed, division, logs, or spawn are appropriate, select healthy local stock and avoid sharing diseased material. Shelter is often more important than fertiliser in coastal Bay of Plenty, Auckland, Northland, Wellington, and exposed rural sites.
NZ climate honesty
The honest NZ note is: Match Medlar to local shelter, drainage, frost, and summer moisture before planting widely; nearby successful gardens are the best guide. Climate labels are a guide, not a guarantee. A sheltered warm-temperate garden may outperform a windy subtropical block, while a cool valley with late frosts can lose blossom or soft spring growth. Match the plant to your district's winter lows, summer heat, rainfall pattern, and disease pressure. In high-rainfall areas, drainage and airflow decide success. In dry eastern districts, mulch, shade from nurse plants, and summer watering are often the limiting factors. Observe nearby gardens before planting a large number.
Soil and water
For soil, aim for deep, biologically active, free-draining soil with organic matter and a living mulch; adapt ph and drainage to the species. The water pattern should be even moisture while establishing; mulch well and avoid prolonged waterlogging unless this crop is deliberately grown in a moist niche. Do not confuse constant moisture with stagnant soil. Many food forest failures come from planting into compacted clay, burying crowns too deeply, or letting grass reclaim the root zone. Use woody mulch for trees and shrubs, finer mulch for herbs and groundcovers, and keep all mulch back from stems. A living understorey can be useful once the main plant is established, but young plants need a clear, watered, weed-free start.
Harvest and use
The main edible or useful parts are Fruit. Harvest timing is varies by cultivar and region; mainly summer to winter in nz conditions. In a household-scale food forest, quality matters more than maximum yield. Pick regularly, process gluts quickly, and leave some flowers or fruit where they support insects, birds, or soil organisms. If the plant is mainly medicinal, aromatic, fibre, shelter, or fungi-related, keep claims modest and practical. This profile is about garden use, not clinical advice. Where a plant has culturally specific uses, grow it with respect and seek appropriate local knowledge rather than reducing it to a novelty ingredient.
Companions and guild fit
Good companions include comfrey, white-clover, oregano, borage, yarrow. These are not magic combinations; they are practical roles. Use comfrey or other biomass plants at the drip line, clovers or low herbs for soil cover, insectary flowers for beneficial insects, and shrubs or nurse trees for wind moderation. Keep vigorous companions from climbing trunks, smothering crowns, or trapping humidity around disease-prone crops. In small gardens, a tidy guild that can be harvested and pruned is better than a dense planting that looks ecological but cannot be managed.
Maintenance
Maintenance is straightforward but should be deliberate: Prune for light and airflow, thin heavy crops where needed, mulch, and protect trunks from grass competition. Check plants after storms, droughts, and heavy cropping. Prune or divide before congestion becomes a problem. Renew mulch each year, feed according to growth rather than habit, and remove diseased material instead of composting it in place if disease pressure is high. For trees and shrubs, establish a shape that keeps harvest reachable. For herbs, roots, climbers, and fungi, keep the production area clear enough that you can see what is spreading and what is failing.
Cautions
Caution: Use correct identification, keep harvests moderate, and check local weed or toxicity guidance before spreading plant material. This matters in NZ because useful plants behave differently between a dry inland garden, a wet northern gully, and a mild coastal boundary. Never dump prunings, roots, berries, or contaminated growing media where they can spread. Confirm local weed rules before sharing plants. Be especially careful with toxic seeds, leaves, unprocessed parts, fungi, or strong herbs around children, livestock, chickens, dogs, cats, and visitors. A resilient food forest is not just productive; it is legible, contained, and honest about risk.
Design note
Use Medlar where it solves a real design problem: food, shade, shelter, fertility, habitat, vertical yield, soil cover, or decomposition. If it does not have a clear role, leave space for access, compost handling, water storage, or future plantings. The most productive NZ food forests are usually not the most crowded ones. They are layered systems where every plant can be reached, observed, renewed, and explained.
Suitable NZ regions
Companion plants
References
- NZ home orchard and food forest practice — Use local cultivar advice, shelter, drainage, and regional pest pressure when adapting this profile.
- Regional council and biosecurity guidance — Check weed, toxicity, and planting advice for your district before spreading or gifting plant material.